
How to Mix Concrete in a Mixer? A Step-by-Step Guide
Mixing concrete in a mixer is a convenient and efficient method to create a high-quality concrete mix for various construction projects. Whether you’re a DIY enthusiast or a professional contractor, understanding the process of mixing concrete in a mixer is essential to achieve the desired results. In this article, we will provide you with a comprehensive step-by-step guide on how to mix concrete in a mixer, ensuring a successful outcome every time.
Step 1: Gather the necessary tools and materials
Before starting the mixing process, it’s crucial to gather all the required tools and materials. Here’s a checklist of what you’ll need:
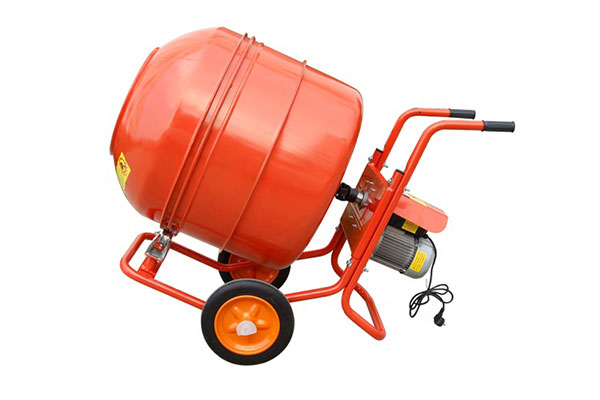
- Concrete mixer: Choose an appropriate-sized mixer depending on the volume of concrete you intend to mix. Consider factors such as the drum capacity and power source (electric or petrol/diesel).
- Concrete ingredients: Cement, sand, aggregates (gravel or crushed stone), and water. Use the recommended proportions of each ingredient for the type of concrete you’re aiming to produce.
- Protective gear: Safety glasses, gloves, and a dust mask to protect yourself from dust and potential splashes.
Step 2: Prepare the mixer
Before adding the concrete ingredients, it’s essential to ensure the mixer is clean and in good working condition. Follow these steps to prepare the mixer:
- Clean the drum: Rinse the drum with water and remove any debris or residue from previous mixes.
- Lubricate moving parts: Check the manufacturer’s instructions and apply lubrication to the necessary parts, such as gears and bearings.
- Position the mixer: Place the mixer on a stable and level surface, ensuring it is well-supported.
Step 3: Add the ingredients
Now that your mixer is ready, it’s time to add the concrete ingredients. Follow these guidelines:
- Start with water: Pour approximately half of the required water into the drum.
- Add cement: Gradually add the cement into the rotating drum. This helps prevent clumping and ensures even distribution.
- Incorporate aggregates and sand: Add the aggregates and sand gradually, allowing them to mix thoroughly with the cement.
- Add the remaining water: Pour the remaining water while the mixer is running. Adjust the amount of water based on the desired consistency of the concrete mix. Remember, too much water can weaken the final product, so be cautious.
- Continue mixing: Allow the mixer to run for a few minutes until the concrete mix becomes homogeneous and well-blended.
Step 4: Monitor and adjust the mix
While the mixer is running, closely monitor the consistency and texture of the concrete mix. Make any necessary adjustments by adding small amounts of water or additional dry ingredients, if required. The ideal consistency is achieved when the mix is workable, yet not too fluid or too dry.
Step 5: Empty the mixer and clean up
Once the concrete mix is ready, it’s time to empty the mixer and clean up. Follow these steps:
- Stop the mixer: Turn off the mixer and let it come to a complete stop.
- Empty the mix: Tilt the mixer’s drum and carefully pour the concrete mix into a wheelbarrow or a designated area for further use.
- Clean the mixer: Rinse the drum with water and scrub off any residual concrete using a stiff brush. Ensure all traces of concrete are removed to maintain the mixer’s longevity.
Conclusion:
Mixing concrete in a mixer provides an efficient and consistent way to produce high-quality concrete for various construction projects. By following the step-by-step guide outlined in this article, you’ll be well-equipped to mix concrete effectively. Remember to prioritize safety by wearing protective gear and adhering to manufacturer instructions for your specific mixer model.